The Golden Wonder Killifish are becoming more and more popular among lots of species of fish kept in aquariums. As a result, there are an increasing number of fishkeepers trying to find an effective method of breeding Golden Wonder Killifish. Below are some useful information about their breeding and advice on how to reproduce them.
Golden Wonder Killifish: Egg Layers
As I mentioned above, Golden Wonder Killifish seem to be very popular right now, and it appears that they are in high demand all the time. Their hardiness and tolerance to a wide range of water parameters make them an excellent choice. Additionally, they are long-living, attractive, easily breedable, and somewhat unusual. These fish lay eggs, like any other killifish. It is known that Golden Wonder Killifish lay their eggs on aquatic vegetation in the wild. After the eggs have hatched, the eggs and the offspring do not receive any parental care from their parents.
Sexing Fish
Here are some signs helping you distinguish between male and female Golden Wonder Killifish.
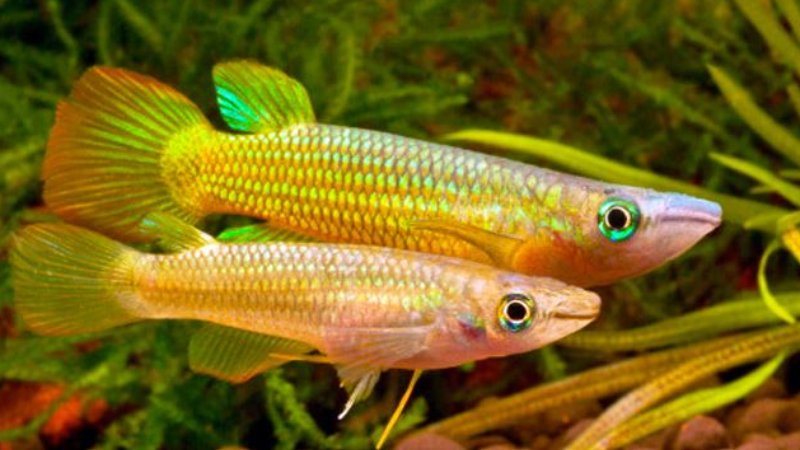
Body color
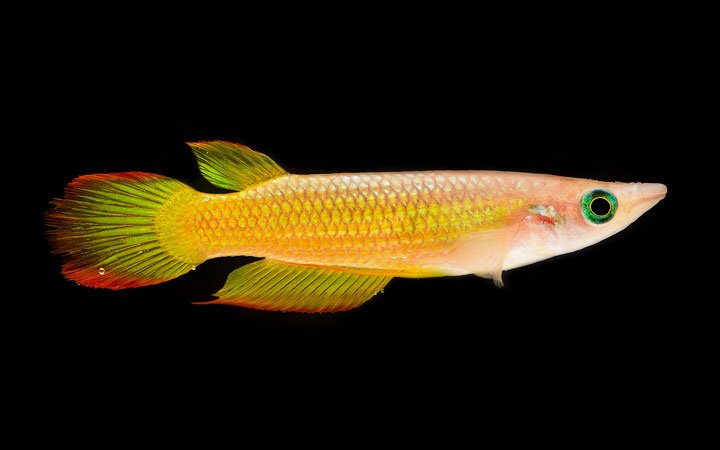
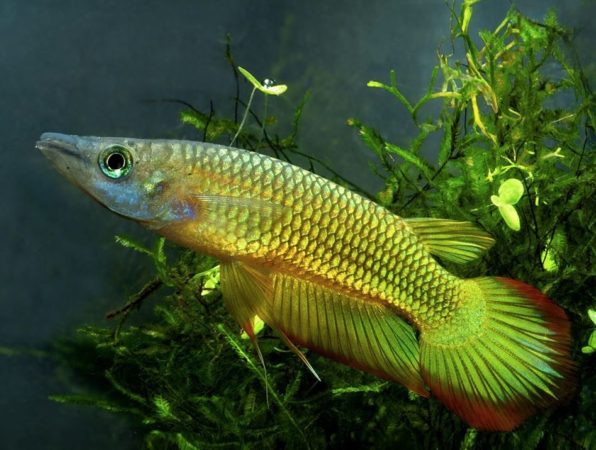
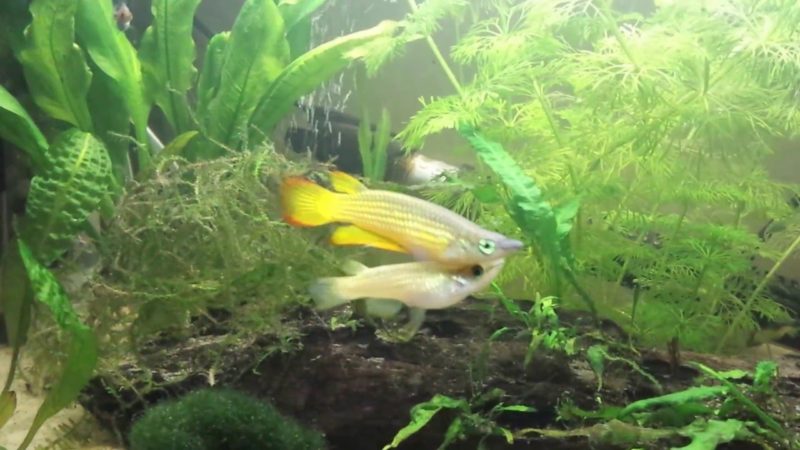
All of the males of this species are covered with a golden shine, which lends the species its popular name.
Similarly, females might seem to have a golden shine to them when exposed to the appropriate light; however, this sheen will be significantly less noticeable. Compared to males, females tend to be a darker shade of silver-gray.
Eye color
Males have a striking greenish-blue tint to their iris.
Compared to males, females’ eyes may be a little more iridescent in color, but they are still far less vibrant.
Anal fins
A bigger, more pointed anal fin distinguishes the males from the females. Moreover, you’ll observe that this fin extends much deeper down its body towards its caudal fin.
A female of this species has a smaller anal fin that does not extend all the way to the caudal fin at the beginning, but it is more rounded.
Size difference
Males are often bigger than females.
Now that you’ve learned the distinction between male and female, you’ll be able to tell them apart. It is time for you to begin breeding these creatures. If you recently bought the fish, let them a couple of weeks to become used to their new home before you try to breed them.
Breeding The Golden Wonder Killifish
Three ways of breeding
Non-annuals, semi-annuals, and annuals are all types of spawning that may occur.
- Non-annuals: These fish are found in bodies of water that do not evaporate on a yearly or year-round basis.
- Semi-annuals: Golden wonders that belong to this category live in streams and rivers that occasionally dry out. In fact, the drying process does not have to take place every year; rather, it is an unpredictable process that occurs at random intervals.
- Annuals: This group includes the Killifishes that live in water bodies that are either seasonal or annual in nature. Yearly, each pool usually dries up after six months (exactly).
Methods to reproduce golden wonder killifish
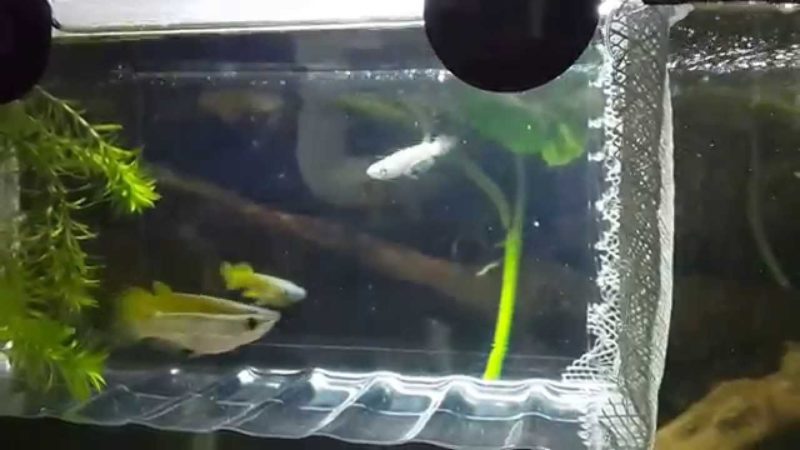
Breeding this species begins with finding a suitable place for them to live. For one or two pairs, a fully-cycled 20-gallon tank is a decent starting point. Due to the fact that this species prefers to devote the majority of its time on the surface, long tanks are preferable over those with high sides. As a result, the surface area of the water is more essential than its depth. In addition, because all killifish are great jumpers, it is essential to have a tight-fitting lid in order to prevent them from escaping.
For the most part, you’ll maintain both males and females in a 20-gallon planted tank. Nevertheless, it also requires a 10-gallon tank for reproductive purposes.
Following is everything you’ll need for the breeding aquarium.
- No Substrate – cleaner and more sanitary for the fish.
- Sponge Filter – the laying of eggs might be hampered if there is too much water flow during the mating process or thereafter. Therefore, using a sponge filter in a breeding tank allows you to better regulate the flow of water in the tank. Additionally, a sponge filter reduces the risk of the eggs or fry being sucked into the filter system and destroyed.
- Acrylic Spawning Mop(s) – more control over tank cleanliness may be achieved by using an artificial spawning site rather than adding a live plant, like Java Moss. Additionally, it will prevent the introduction of undesired pests, such as hydras or snails, into the tank’s breeding population. Prior to using the mops, soak them in a pail of water for a few days to assist them sink when put in the tank. To ensure the mops are submerged, weights or tiny stones may also be employed.
- A submersible heater
- Water – 72 to 84 degrees Fahrenheit, clean, and dechlorinated.
Once setting up a suitable tank environment for breeding Golden Wonder Killifish, here are 2 easiest and most effective methods I recommend for you:
- Option 1:
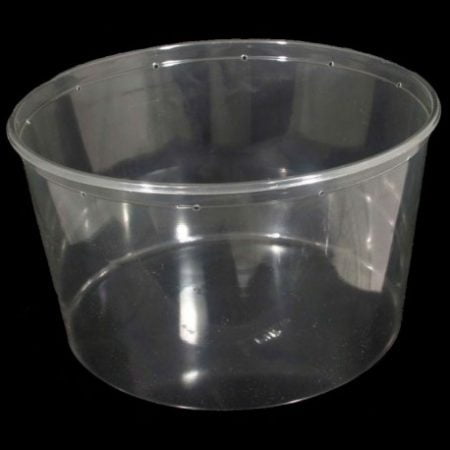
Water should be removed from the breeding tank and placed in a shallow plastic container, which is about 1-2 gallons in volume. Here you’ll be keeping the eggs while they’re incubating. Ensure that the container’s water level is sufficient to completely immerse the spawning mop (s). In addition, keep in mind not to remove any breeding tank debris while siphoning off the water.

Adding an antifungal chemical to the incubation container’s water will prevent the eggs from developing fungus. A number of options are available. However, methylene blue is the most commonly used anti-fungal. Alerting!! It’s very hazardous and will leave a stain on whatever it touches.
Lots of people like to use 3 percent Hydrogen Peroxide. It is non-toxic, affordable, just as effective, and accessible at any drugstore. 10 -20 drops per gallon of water can help battle the terrible egg fungus. One disadvantage of using it is that it loses potency with time, requiring you to replenish it with 10-20 additional drops each gallon of water every 12 hours.
As soon as you have applied the antifungal of your choice, take your spawning mops from its breeding tank and transfer them to your shallow eggs incubation container. The eggs will not be damaged if exposed to the air for a brief period of time, provided that they stay wet.
The water in the incubation container must be maintained at or above 76 degrees Fahrenheit when you’re in a cold environment. The incubation time will be reduced if the temperature is increased. In addition, an air stone should be placed in the container to supply the eggs with some water movement and oxygen. Finally, the incubation container should be covered to keep out dust, pests, and other contaminants. It’s preferable to maintain my incubators in a dark area.
On a daily basis until the viable eggs hatch, look for and eliminate any eggs that have been infected with fungus.
For the fishkeepers, this method is the favored method since it is more efficient and requires less handling of the eggs. Nevertheless, let’s have a look at another approach.
- Option 2
During the first 24 hours after spawning stops or slows down, remove an egg-filled mop from the breeding tank. Make sure you have a clean towel and damp fingers to take the eggs out of the mop. Unexpectedly, the eggs are rather huge and quite resilient. Check each strand of the mop for eggs while going through it one at a time. In the process of removing the eggs from the mop, put them into a shallow container filled with breeding tank water and choose an anti-fungal agent to use. . The water just has to be 2 inches deep for this to work properly. Additionally, it is better to include an air stone with a gentle bubble and a cover.
If you choose this technique, you may also utilize extremely tiny containers, such as deli cups and margarine tubs, as incubation vessels for your experiments. These containers may then be placed in the main tank and floated about. Moreover, there should be no more than 10-12 eggs per container to avoid overcrowding.
The advantage of this method is the removal of eggs from the spawning mop. This makes it simpler to identify and remove the fungus-infected eggs, then will save time and effort in the future. However, there will be some disadvantages. Because you must handle the eggs, you risk damaging them and decreasing your hatch rate. Picking the eggs out of the spawning mop by hand also takes much longer.
- Conclusion
No matter what technique you pick, after around 10 -14 days the fertile eggs will hatch into free-swimming fry. Fry should be stored in a tiny container so they can readily find their meal. And the fry may subsequently be fed with baby brine shrimp, micro worms, and vinegar eels. To make cleaning the fry tank simpler, the bottom should be bare. Male and female fish may be distinguished after two months, and immature fish are ready to breed after five months. They have a three-to-four-year life expectancy.
Additional ideas, suggestions, and information to assist you in achieving success
- Make it easy to remove the eggs from the nest by using a dark green mop.
- When using the mops, put them in a pot of boiling water to remove any color that may have leached out. It is better to be cautious than sorry.
- Protect the tank at all costs! They’re going to leap… ( The parents, not the mops)
- Methylene blue is not an antifungal in the technical sense of the term. Its mechanism of action is to increase the egg’s ability to absorb oxygen. Dissolved oxygen is the key to preventing fungus from forming on an egg’s surface. Methylene blue may also reduce the quantity of light entering the water by making the water a dark blue color. Growing fungi need the presence of light.
- Mops and their eggs should not be overcrowded in order to prevent the spread of the fungus. As more eggs are crammed together, the chance of one of them being infected with mold increases. Additionally, overcrowding decreases water flow, which may lead to stagnant areas in the spawning pool. An airstone is a great way to keep the water streaming.
- Every day, be sure to inspect the mops or incubators. Eliminate any eggs that are whitish or look to be infected with fungal growth. A pipette or a tiny siphon tube may be used for this purpose. Using a magnifying lens will make it easier to separate the excellent eggs from the bad, but it will become quite evident with experience.
- In most cases, all of the eggs in a mop will hatch in one or two days of one another. Since they’ll be about the same age, feeding the fry will be a lot simpler. However, some of the fries will always grow bigger than the others as they mature. If you don’t keep the fry separated by size, the larger fish will consume the smaller ones.
- The water temperature in the breeding tank may be gradually raised in order to encourage hesitant couples to start spawning. Actually, a warm environment will really expedite all processes.
- Don’t overproduce eggs or newborns; only have as many as you can care for. Having 10 strong and robust fry is much preferable to having 50 infants that are unhealthy and stunted as a result of a lack of time and attention. It is possible to lose the whole fry school if the school is overcrowded.
- It’s a good idea to label the incubation containers with a species name and the date when the eggs hatched. In this way, you’ll be able to predict when the fry will hatch.
Hatching & After
To complete the breeding process, the parent Golden Wonder Killifish lay huge eggs that attach to floating plants. They typically lay between 100 and 150 eggs at a time. Therefore, once the eggs have hatched, we suggest that you move them to a new tank for the fry’s care. After the eggs have hatched, there is no need to keep the parent fishes in the tank since they lack a strong parental instinct.
The eggs hatch after around 14 days, but you can still see the egg sac clinging to the bottom of their body. That is what the fry eat for many days before they are able to swim on their own. Keep the fry healthy and happy by feeding them enough protein-rich, bite-sized food. Fry meal powders and fry Brine Shrimp are excellent feedable alternatives for your baby fish.
Video: Breeding Golden Wonder Killie
FAQs
Is it easy to breed Golden Wonder Killifish?
When it comes to keeping captive-bred fish, the Golden Wonder Killifish is regarded as one of the most straightforward. They do not need to remove their eggs after spawning since they are not annual species. The ideal breeding habitat is a soft water aquarium with a variety of free-floating aquatic plants.
Do Golden Wonder Killifish lay eggs?
The Golden Wonder Killifish is an egg-laying species, much like the rest of the killifish family. During their natural life cycle, Golden Wonder Killifish lay their eggs on underwater plants. However, there is no parental care for the eggs or the young once the spawning has taken place.
Do Golden Wonder Killifish eat their baby fries?
It is possible that they will eat their fries. Thus, you must maintain them in a different tank in order to avoid this from occurring. Crushed bloodworms, as well as other tiny insects, are the primary food source for the fry.

Annette M. Chaney is an experienced marine biologist with over 20 years of experience as an aquarist and fishkeeper. She started her first aquarium at a young age, filling it with frogs and goldfish obtained from the ten-cent pet store.
Annette grew up caring for and breeding African Cichlids, which led to a hobby in high school that doubled as a profitable means. Attending Reed College gave her time to solidify herself as an accomplished aquarium caretaker with an eye for sales. After that, from 2009 – 2013, she studied at Roger Williams University – one of the most prestigious universities for Aquaculture and Aquarium in USA. She is the founder of AquariumCircle since 2010.